Learn how faceted snow crystals form, why they create instability in the snowpack, and how to identify them.
If rounded snow grains are the dependable construction workers of the snowpack, faceted crystals are the demolition crew. These angular, sparkly crystals are notorious in the avalanche world for creating weak layers that can persist for weeks or even months. Understanding facets is crucial for anyone venturing into the backcountry, as they're often the culprits behind many dangerous avalanches.
The Temperature Gradient
Facets form when there's a significant temperature difference within the snowpack. This temperature gradient needs to exceed 10°C per meter (about 5.5°F per foot) to trigger faceting. Think of it like a cold window on a warm day – water vapor moves from the warm side to the cold side, creating frost. In snow, this vapor movement transforms existing snow crystals into angular shapes.
Regional Variations
This process is particularly common in continental snow climates like the Rocky Mountains, where:
Cold, clear nights create strong temperature differences
Thin snowpacks allow these gradients to persist
Early season snow often becomes faceted
Shallow areas near rocks or trees are prime locations
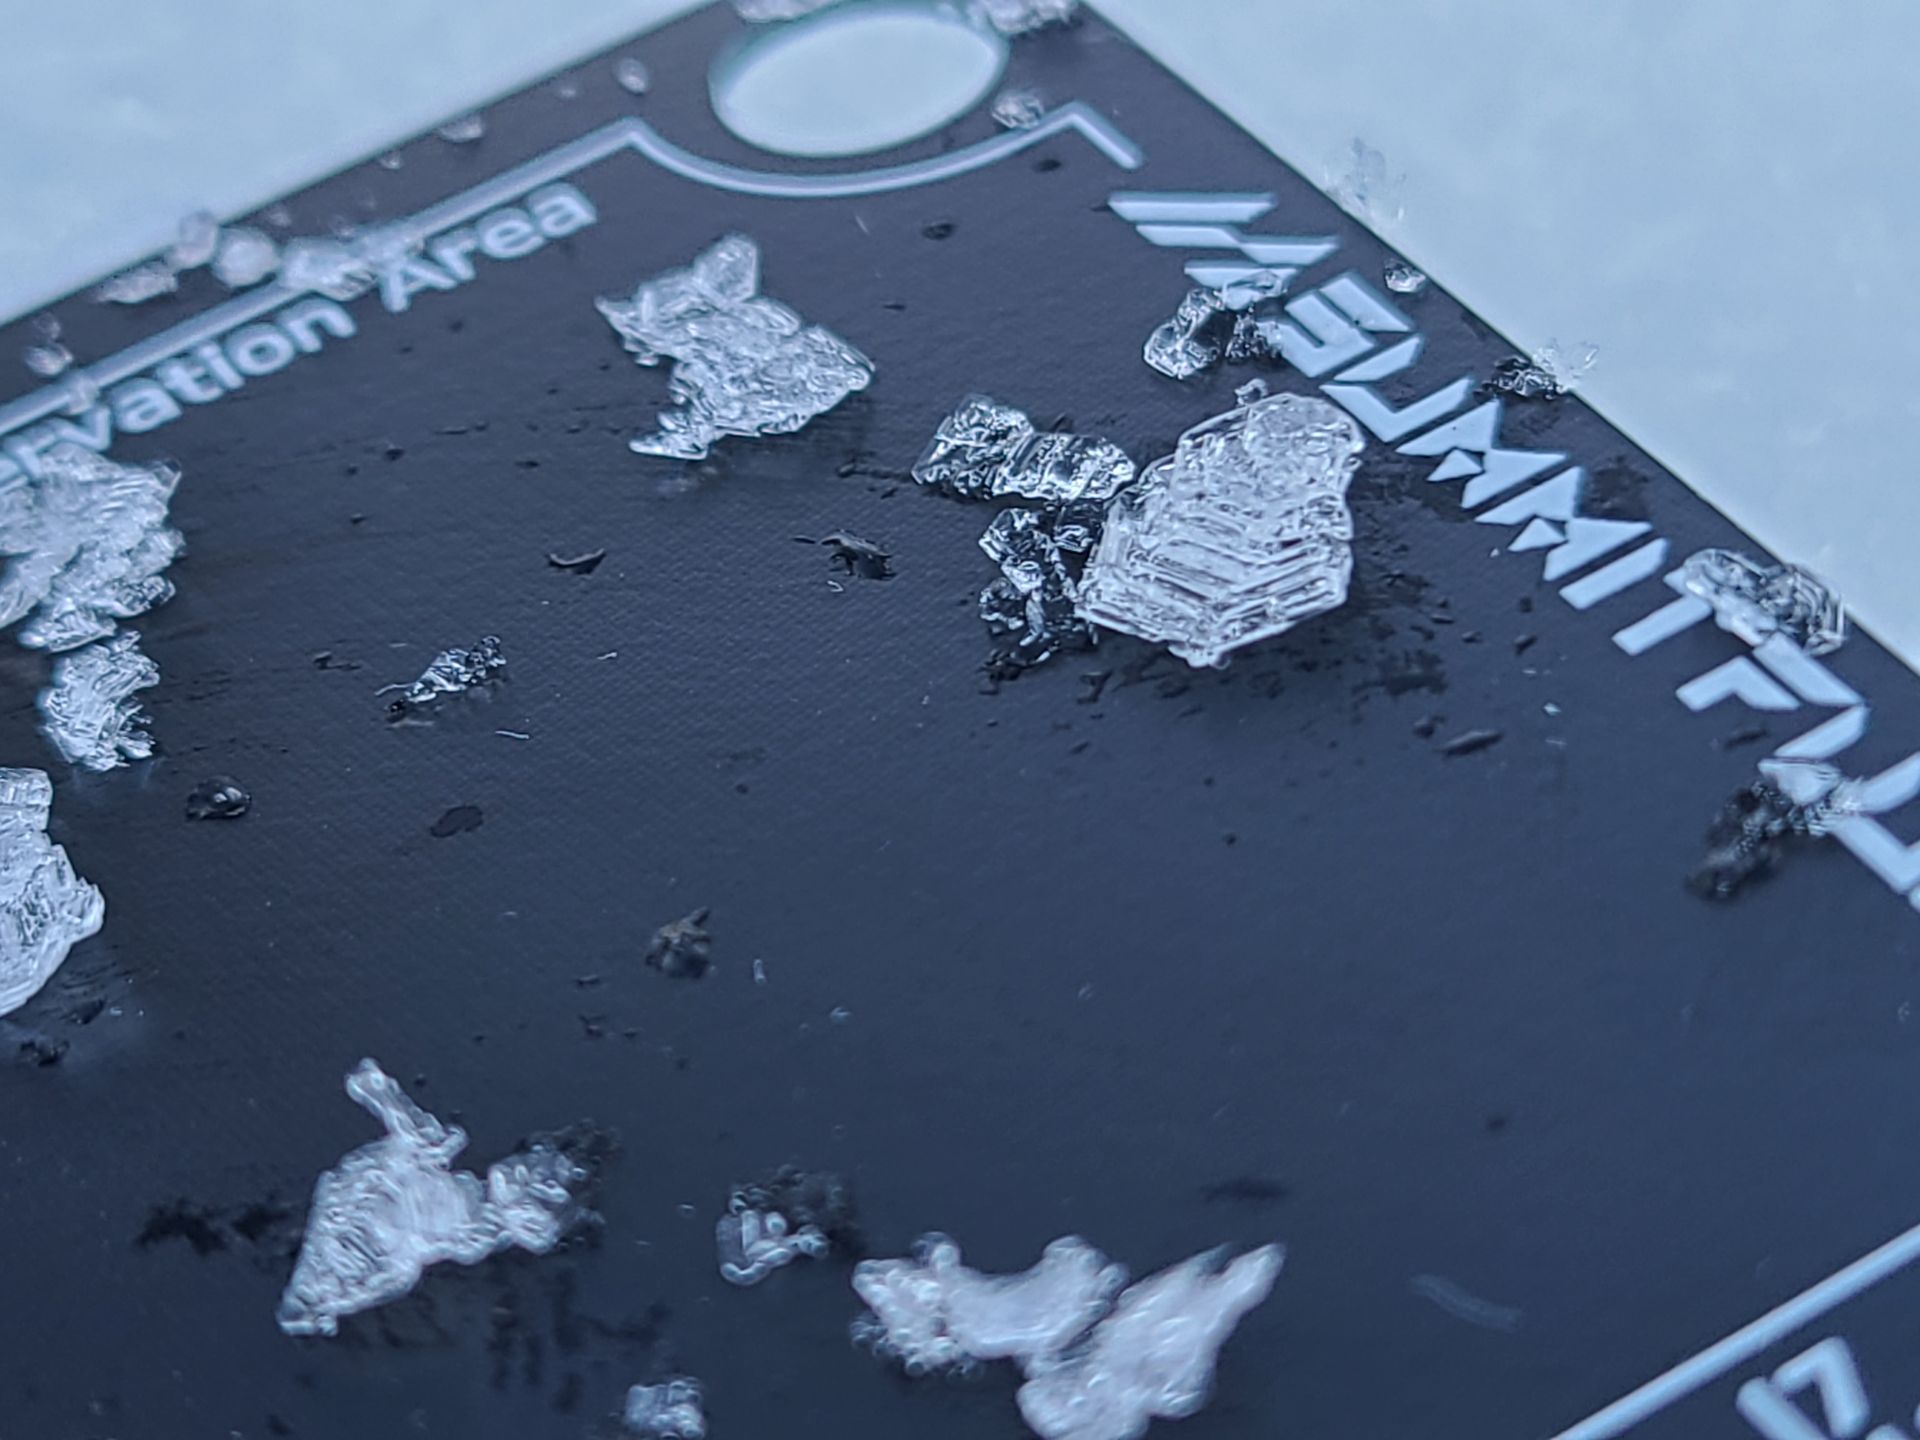
Picture sugar crystals in your kitchen – facets look remarkably similar:
Angular, translucent appearance
Flat faces and sharp edges
Usually 1-3mm in size
Loose, granular texture
Distinctive sparkly appearance
Visual Inspection
Through a magnifying loupe, look for:
Sharp, angular corners
Flat, reflective faces
Individual grains that don't stick together
Often larger than surrounding grains
Touch Tests
Several simple field tests can help identify facets:
The "Squeaky Snow" Test: Listen for a squeaking sound when compressing cold snow
The "Sugar Test": Feel if the snow falls apart like loose sugar
The "Snowball Test": Try to form a snowball – faceted snow typically won't stick together
Why Facets Are Dangerous
Faceted layers create instability because:
They don't bond well with surrounding snow
They can persist for long periods
They often form continuous weak layers
They're difficult to stabilize once formed
They can survive minor storms and continue to be reactive
Common Scenarios
Watch for facets in these situations:
Near the ground in early season snow
Below or above crusts
In shallow snowpack areas
Around terrain features that create thin spots

Assessment Strategies
Document early season snow conditions
Track known faceted layers through the season
Pay attention to areas of thin snow coverage
Look for signs of recent avalanche activity
Terrain Choices
When dealing with known faceted layers:
Consider gentler terrain options
Avoid shallow snowpack areas
Be especially cautious during and after loading events
Think about exposure time in suspect terrain
Start developing your facet recognition skills by:
Practicing with a magnifying loupe on obvious layers
Comparing faceted and non-faceted snow side by side
Taking note of how faceted snow feels different
Recording observations in a snow journal
Attending avalanche courses for hands-on practice
Be especially alert when you observe:
Collapsing or "whumphing" sounds
Recent avalanche activity
Dramatic changes in snow depth
Early season snow preserved under new snow
Understanding faceted snow crystals is fundamental to safe backcountry travel. While their presence doesn't always mean automatic danger, it should trigger careful evaluation and conservative decision-making. Remember that facets can persist long after they form, making them one of the most challenging aspects of snowpack assessment.
Facets form when temperature gradients exceed 10°C per meter
They're more common in continental snow climates
They create persistent weak layers that can last for weeks or months
Early season observation is crucial
Conservative terrain choices are essential when dealing with faceted layers